Check Your Objectives with a Magnifying Glass
A two-minute look that shows you what is really on the front lens of each objective.
The front lens of an objective is tiny. The 40x front lens is only a few millimeters across, and the 100x is smaller still. From normal viewing distance, a lens with dried oil on it, a scratch, or even a crack can look perfectly fine. Under a magnifying glass, the same lens tells a very different story.
This is the check I do on almost every service call. Lab managers are often surprised by what they see, and it usually explains the hazy image they have been fighting for weeks.
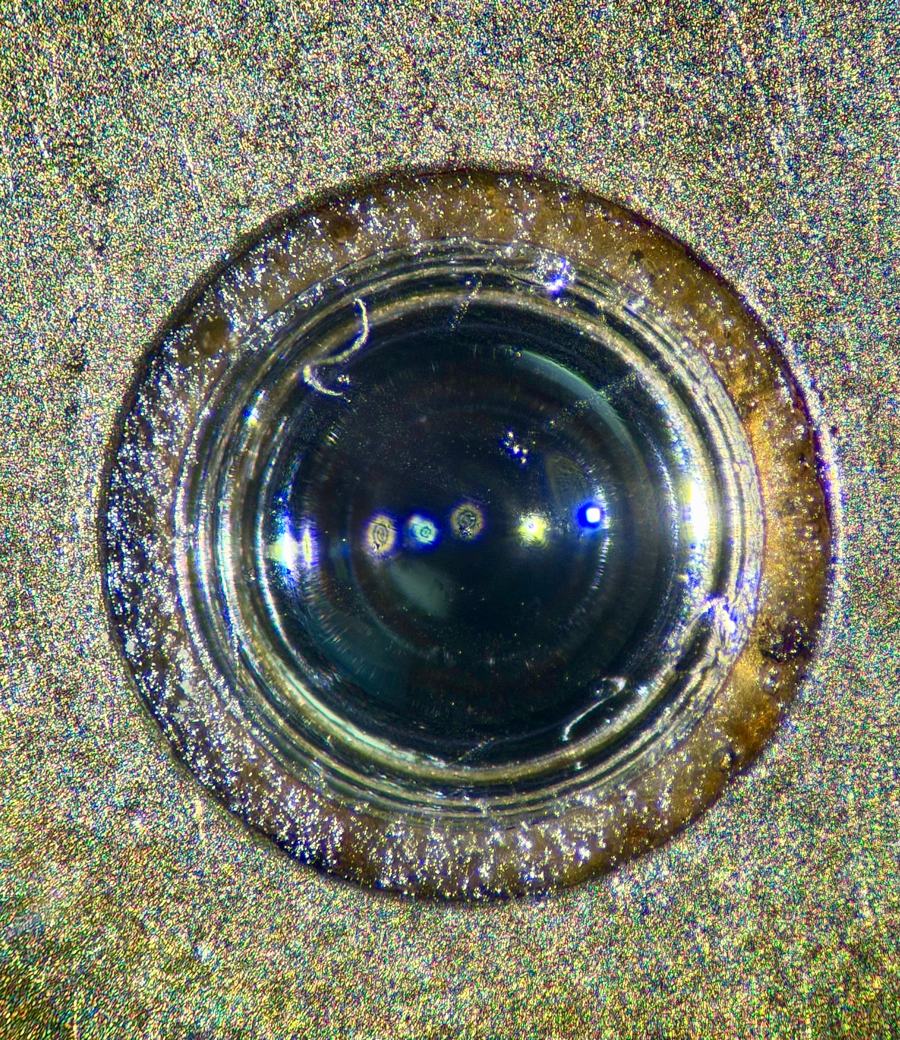
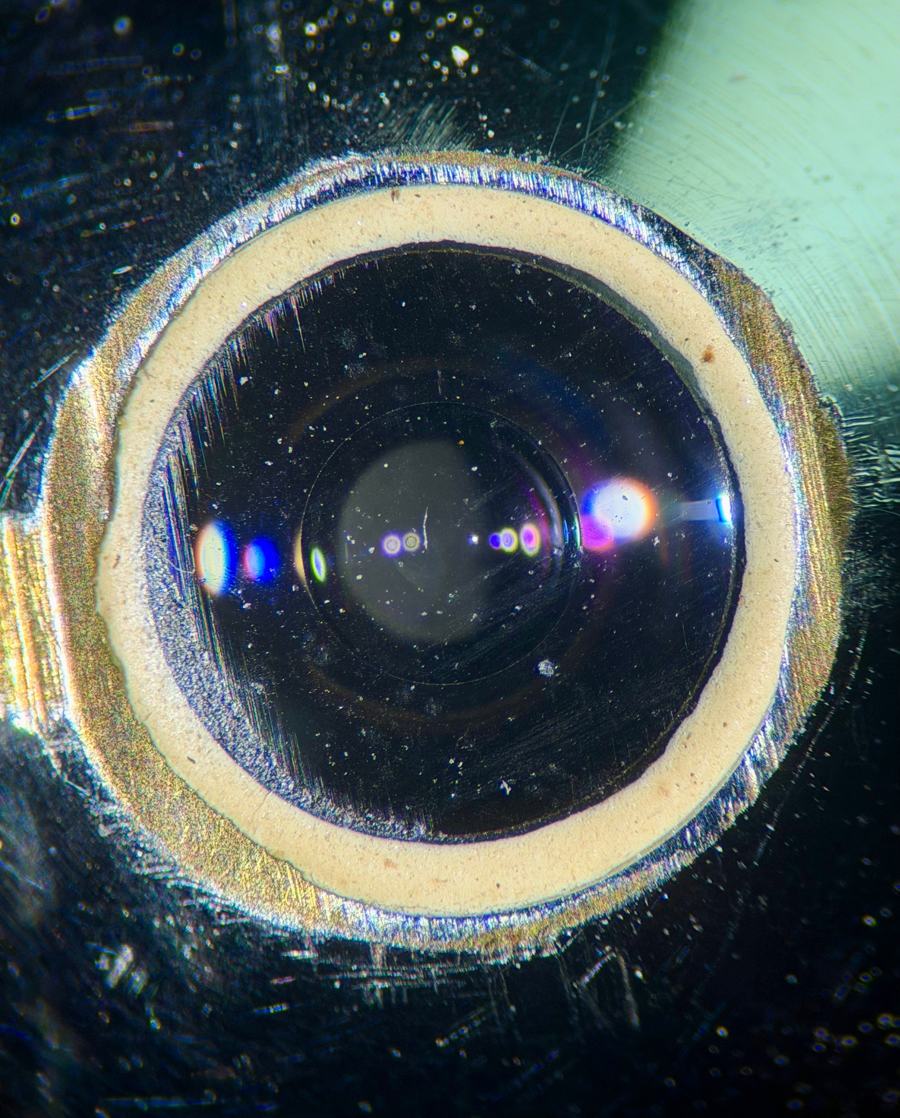
What you need
- A magnifying glass or loupe. 5x to 10x works well. A jeweler's loupe is ideal. Your phone camera zoomed in also works in a pinch.
- A light. A phone flashlight or small penlight, held off to the side.
- Lens paper and a blower bulb, in case you find something you can safely fix yourself.
How to check, step by step
Lower the stage all the way
Rotate one objective toward you
Light it from the side
Look closely, then tilt the light
Leave the objective on the nosepiece. You don't need to unscrew it, and keeping it in place means nothing gets dropped. Lower the stage so you have room, turn the objective you want to check so its front lens faces you, and shine your light at an angle rather than straight on. Look at the front lens through the magnifier, then slowly tilt the light. Most problems show up as the reflection moves across the glass.
Start with the 40x. It is the lens most likely to have oil on it. Then check the 100x and the 10x.
What you might see
| What it looks like | What it probably is | What to do |
|---|---|---|
| Dark, glassy, and an even, sharp reflection | A clean lens | Nothing. That's what you want. |
| A shiny, wet-looking bead or film | Fresh immersion oil | Blot gently with lens paper right away, before it dries. |
| A dull, smeared, sometimes yellowish film, or a sticky ring at the edge | Dried oil | Leave it for service. Dried oil needs special solvents and care. |
| Loose specks that move when you puff air | Dust or lint | A few puffs from a blower bulb. No wiping needed. |
| A swirl or smudge pattern | Fingerprint | Clean with lens paper, the safe way. |
| Fine bright lines that stay put as the light moves | Scratches in the glass or coating | Can't be cleaned off. Note it and call us if image quality has dropped. |
| A line across the front lens, or a chip at the edge | Crack or chip, often from the lens hitting a slide | Stop using it. The objective needs repair or replacement. |
| Thin, branching threads like a spider web, inside the glass | Fungus | Call for service. Houston humidity makes this more common than people expect. |
Avoid this
- Unscrewing objectives to look at them. It isn't needed, and a dropped objective is an expensive mistake.
- Scrubbing dried oil. Rubbing drags old oil and grit across the coating. See Never Go Back to 40x After Oil.
- Solvents from the supply closet. The wrong solvent can damage the cement and coatings inside the objective.
- Touching the lens with the magnifier. Hold it a little away from the glass.
Watch it in a minute
Why this matters
The objectives are the engine of your microscope. When one is dirty or damaged, no amount of focusing or light adjustment brings the image back. If 40x looks soft or foggy while 10x looks fine, the magnifier check usually shows you why in seconds. For the bigger picture, see Your Microscope Is a Lot Like Your Car, or work through Hazy Image? Check This First.
Found dried oil, a crack, or something you're not sure about? We'll take a look.
Need hands-on help? See our microscope repair in Houston.
← Back to Resources